


I was a terrible sourdough starter parent at first. No matter how many times I tried, I just couldn’t keep it alive. Frustrated and confused, I eventually gave up. Fast forward many years and … COVID.
I, like many others across the country, decided to give sourdough a try and as I read more about the action of sourdough something just made sense. I figured it out. I can proudly say my starter is five years old and thriving! Most days, it sits patiently in the back corner of my fridge, waiting for its time to shine-and shine it does. But seriously, five years—that’s a milestone for me! This starter has been through it all. It survived being dehydrated, pulverized into dust, and frozen for a month while we whitewater rafted the Grand Canyon. It endured other weeks-long vacations, left neglected and dormant in the fridge—likely starving and grumpy. It has even survived being, to put it bluntly, forgotten for weeks at a time.
What makes my starter even more special is that it’s a true blend of cultures—literally. It’s a mix of a local starter, one I created while staying at a beach house in Roundstone, Ireland, and another I made on Molokaʻi, Hawaii. For a while, I kept all three alive in separate jars, comparing their strength and flavor by baking loaves from each. Eventually, I realized that was far too much work! So, I combined them into one. Now, it’s happier, bubblier, and more active than ever. For the record, the Irish starter was the best.
For years I had my weekly sourdough ritual. I made my foolproof no-knead recipe every Saturday evening and baked it on a Sunday morning. It was a great routine, but last summer I fell out of the habit and got a little bored with the same old no-knead recipe. That’s when I found Maurizio Leo’s Simple Weekday Sourdough Bread recipe. You start the levain in the morning, then come back around 5:00 p.m. for a quick autolyse and mix, and bake it the following morning. It sounds like a lot, but it’s actually pretty quick and easy once you get the hang of it.
Word of advice for any baking or cooking project: 1. Read through the directions before starting. 2. mis en place: get all your ingredients and supplies ready and measured before starting.
You can either make your own sourdough starter or buy a small starter from King Arthur Flour and feed it for a few days to get it ready.
What is a levain? What does autolyse mean? See my notes below and I’ll explain sourdough terms. Happy baking!
Simple Weekday Sourdough Bread by Maurizio Leo
Prep Time: 24 hours
Cook Time: 1 hour
Makes 2 loaves
Ingredients for the Levain:
40g bread flour
40g whole wheat flour
81g water
8g ripe sourdough starter
Ingredients for the Main Dough:
766g bread flour
161g whole wheat flour
19g salt (I use KAF bread salt)
685g water
169g ripe levain
Directions:
Levain (7:00 a.m. before work)
In a small container, mix the Levain ingredients and keep it at a warm temperature for 10 hours.
Autolyse with levain (5:00 p.m after work) In a medium mixing bowl, add all of the levain, 766g bread flour, 161g whole wheat flour, and 635g water (50g was reserved for mixing, later) and mix until no dry bits remain. Cover the bowl and let rest for 20 minutes.
Mix (5:20 p.m.) To the mixing bowl holding your dough, add 19g salt and some of the reserved 50g water (or all if the dough feels like it can handle it). Mix thoroughly and strengthen the dough for about 5 minutes. Using wet hands, mix everything until it comes together into a shaggy mass. This dough is relatively strong and doesn’t require intensive kneading (like slap and fold), but give it a few folds in the bowl, perhaps 5-10, until it smooths slightly. Transfer the dough to a bulk fermentation container and cover.
Bulk Fermentation (5:30 p.m. to 9:00 p.m.) This dough will need 2 sets of stretch and folds during bulk fermentation, the first set 30 minutes after bulk fermentation begins. Perform the second set 30 minutes after the first, and then let the dough rest the remainder of bulk fermentation.
Divide and Preshape (9:00 p.m.) Lightly flour your work surface and scrape out your dough. Using your bench knife, divide the dough in half. Lightly shape each half into a round shape. Let the dough rest for 30 minutes, uncovered.
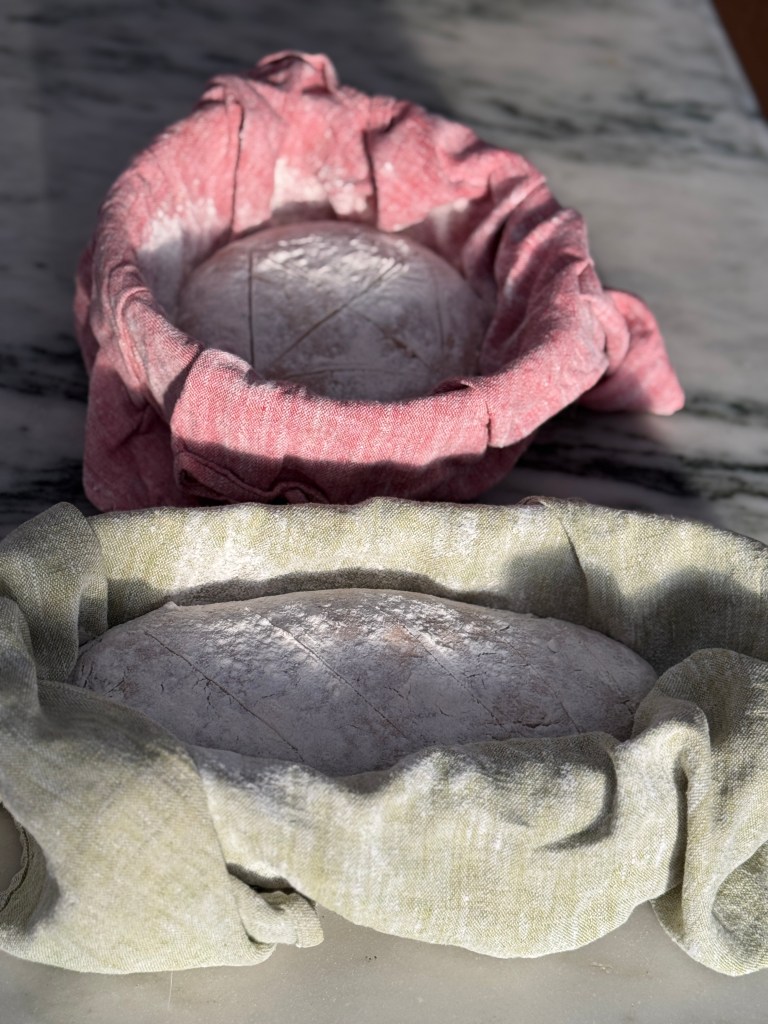
Shape (9:30 p.m.) Shape the dough into a round (boule) or oval (batard), then place the dough in proofing baskets.
Proof (9:30 p.m. to 7:00 a.m. or 6:00 p.m. the next day) Cover proofing baskets with reusable plastic and seal shut. Then, place both baskets into the refrigerator and proof overnight.
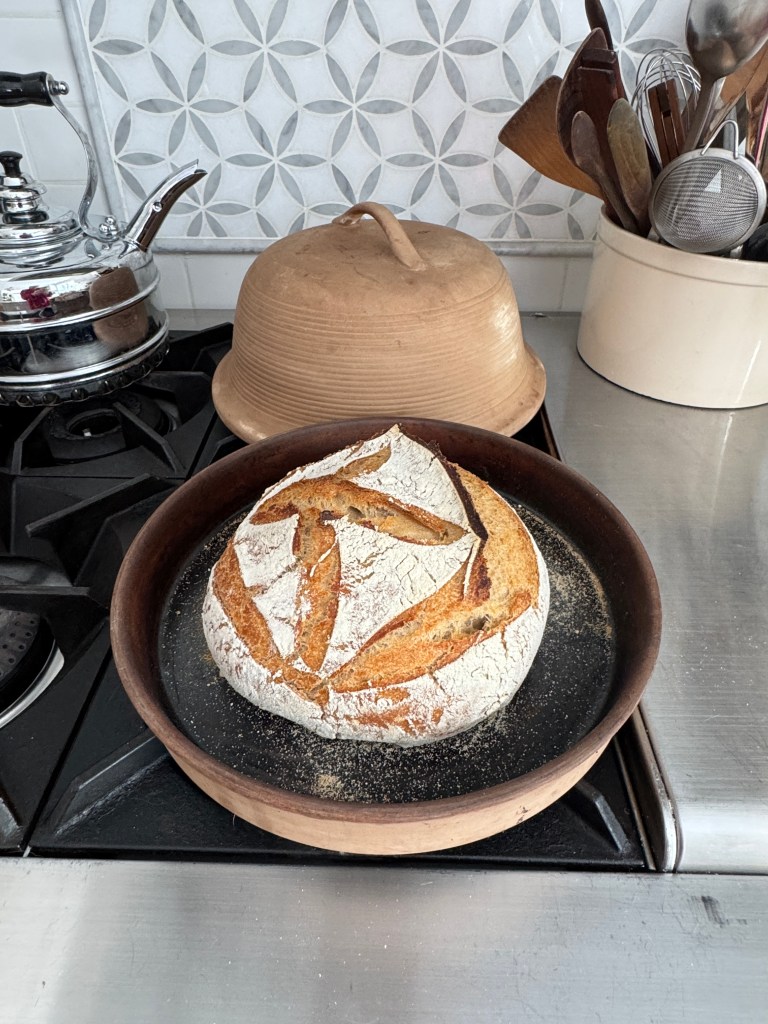
Bake (The next day, bake at 7:00 a.m. before work, or 6:00 p.m. after work) Preheat your oven with a baking surface or combo cooker/Dutch oven inside to 450°). Remove your dough from the fridge, score it, and transfer it to the preheated baking surface or combo cooker. Bake for 20 minutes with steam. After this time, vent the steam in the oven or remove the lid (you can keep it in the oven or remove it) and continue to bake for 30 minutes longer. When done, the internal temperature should be around 204°.
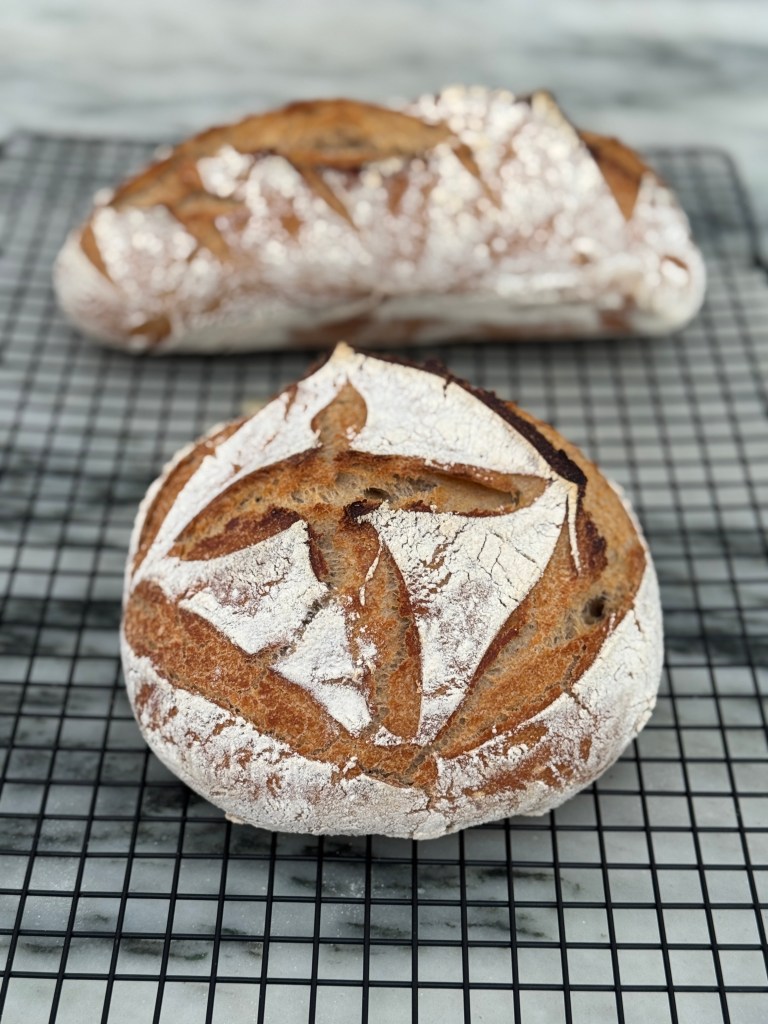
Let the loaves cool for 1 hour on a wire rack before slicing.
Notes:
Levain – If you’re confused about the difference between a levain and sourdough starter, I was too. A sourdough starter is your ongoing, long-term culture. A levain is a temporary build made from the starter, meant for immediate use in a specific recipe. It allows bakers to tweak flavor, fermentation time, and hydration without altering the main sourdough starter.
Autolyse – a bread-making technique where flour and water are mixed and left to rest before adding other ingredients like salt (like here). This resting period, typically lasting anywhere from 20 minutes to several hours, allows the flour to fully absorb the water, kick-starting enzyme activity that improves structure and flavor. Basically, the dough becomes easier to shape, it develops better flavor, and allows time for gluten development so there’s less kneading and handling.
Fermentation & Proofing – Fermentation in sourdough is the process where wild yeast and lactic acid bacteria (in the air and everywhere) work together to leaven the dough, develop flavor, and improve texture. This occurs in two main stages: bulk fermentation and final fermentation (aka proofing).
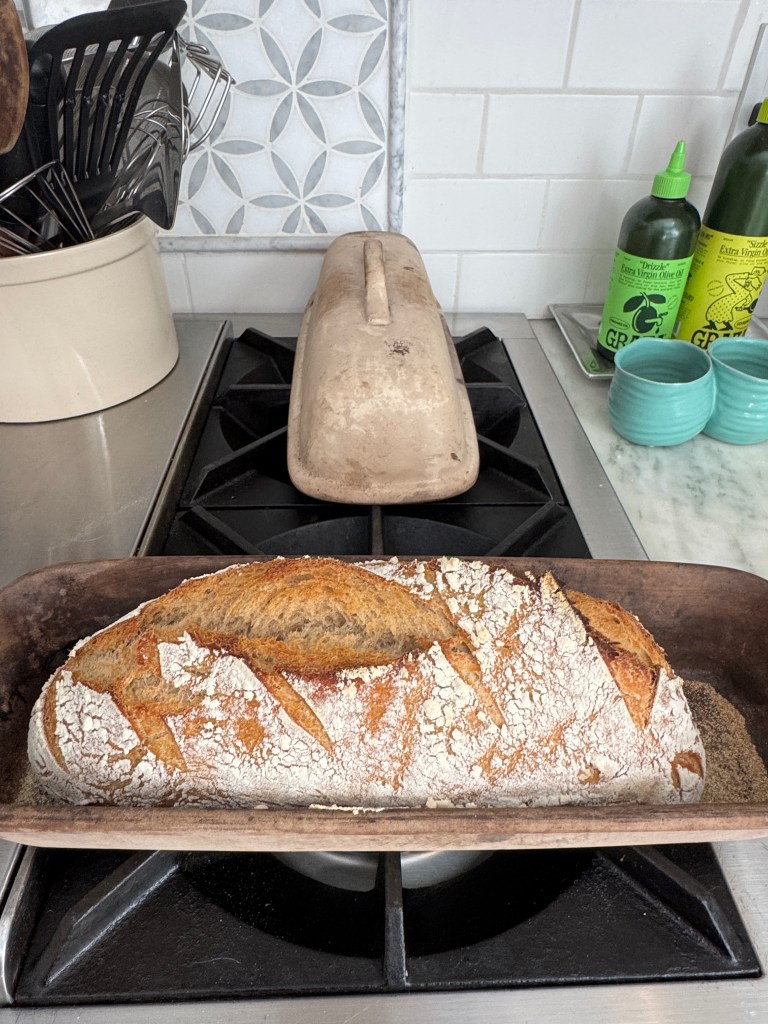
Tools needed: Proofing baskets, cloches, and other bread baking tools can easily be found online. I use my white LeCreuset tall dutch oven for my no-knead recipe but my two Sassafrass Superstone La Cloches for this recipe. Why? Personal preference. I have the Sassafrass round domed and long covered bakers and LOVE them. If you want nice straight scores in your bread, use a lame (/lahm/). I got mine on Etsy.
p.s. The links in my posts are for more information. I do not receive sponsorship for endorsing a product.


Leave a comment